Showing posts with label Royal Icing. Show all posts

Wednesday, December 3, 2014

Christmas Sugar Cookies & Decorating Tips

I love making Christmas sugar cookies.  I loved making them when I was younger and now as an adult, I love making them with my children.  Of course, sugar cookies are the best kind of cookie to give to Santa, too!

I have been following the same cookie recipe for years, which can be found here.  It makes a very sweet and soft cookie.  Make sure not to over bake it!

 It is so much fun to pick the different cookie cutters and to press them into the dough to make the shapes.

Decorating the cookies is even more fun because you get to decided what colors to use and any other added decorations such as sanding sugar or sprinkles.

I love having Christmas sugar cookies on hand during the holiday season.  It is such a joy for my kids to have a cookie after school or with some hot chocolate after playing outside.  But like I said before, they are good to have on hand for Santa on Christmas Eve.


I like using royal icing to frost my sugar cookies.  Make sure that when you are icing the cookies, the royal icing is able to fall back on itself and is not too runny.  You don't want it running off the cookie, but staying on the cookie and spreading itself out.

Royal Icing Recipe

3 egg whites
4-5 cups of powdered sugar

Using the whisk attachment in a KitchenAid or handheld mixer, beat the egg whites until they are frothy.

Slowly add in powdered sugar
and mix until smooth.  Depending on the consistency of the icing you may need to add more powdered sugar.  If it is too thick, dribble in a little water and mix until you think you have the right consistency.   

When the cookies are cool, they are ready to decorate.  Make sure they are completely cool, as any warmth will make the icing melt and run.  I like to have all my colors, bowls and piping bags laid out prior to decorating.  Keeping it organized and tidy will make the decorating process go much more smoothly.  I scoop out the icing and divide it up between bowls, then add my food coloring to make my colors.  I like the Wilton brand of gel colors, which can be found at Michael's craft stores.


To ice cookies with layers (like the reindeer and mittens) I did the light brown first, let it get hard and then do the next layer of icing, such as the collar, antlers and noses.  It is important to make sure the icing has set before adding the other colors, or else they will blend together.
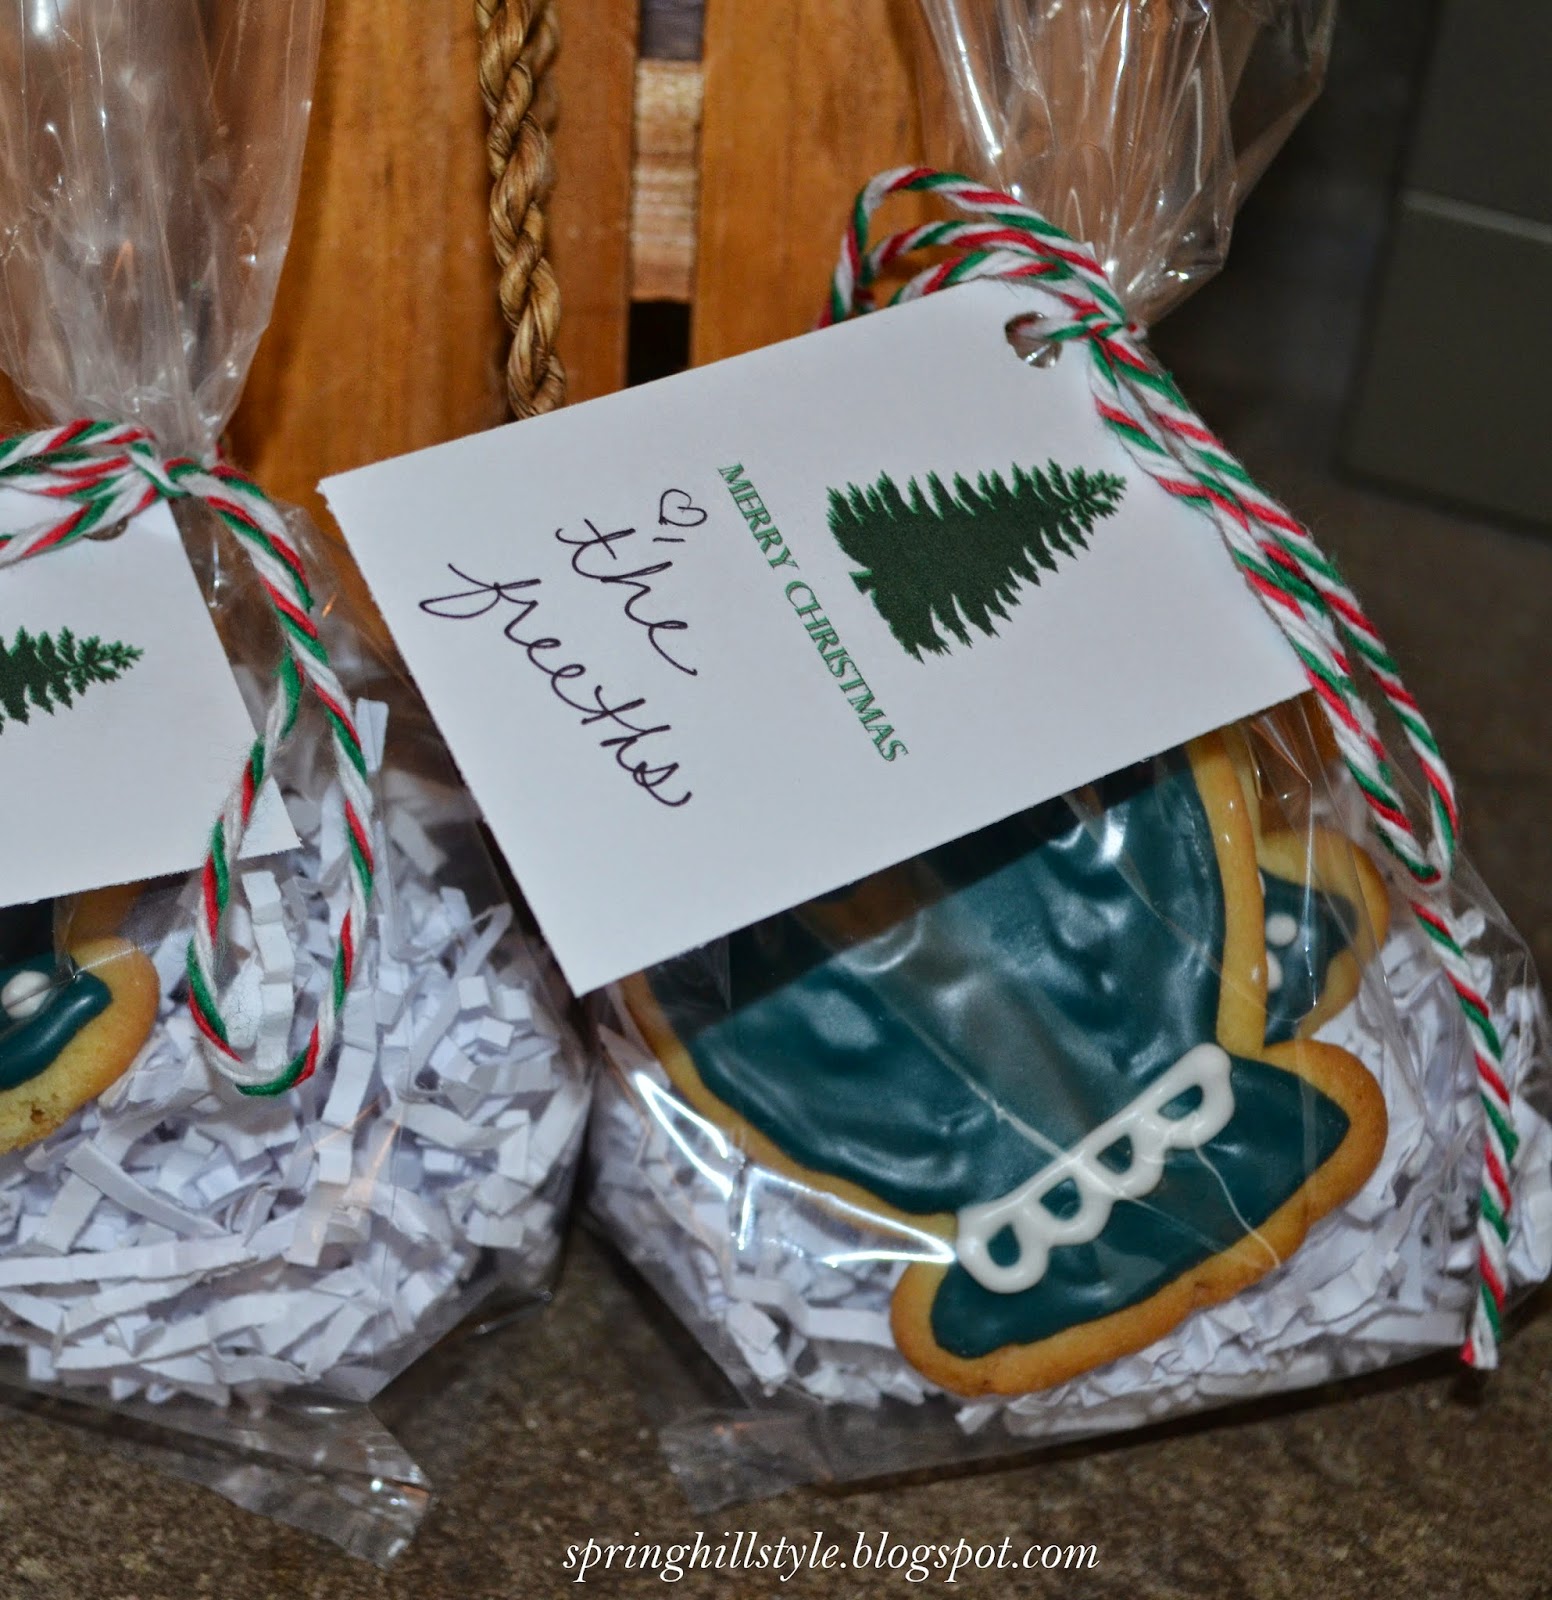

Packaged in cello bags with crinkle and my tags, ready to give to the neighbors.

I love making snowflake cutout cookies.  They are fun and easy to decorate.  With these cookies, I just make the royal icing without any gel coloring.

I add the first layer of white icing and make sure it sets.  Then I add lines of icing highlighting the fancy snowflake parts.  While still wet, I add I then add sprinkles and sugars.


They turn out beautifully...just imaging snacking on them with a big mug of hot chocolate!


Other Christmas sugar cookies that my children helped make...they insist on using a lot of color!  But as you can see, the possibilities are endless when it comes to decorating Christmas cutouts.


Wednesday, October 22, 2014

Halloween Sugar Cookies

I truly enjoy making sugar cookies for each holiday.  The recipe I follow yields delicious, soft and golden cookies.  The dough is very easy to prepare and freezes well, too.  In the spirit of Halloween, I decided to make some cookies.  I had them ready for dessert after dinner, with some left over for the kid's lunches and some to package to share with our very special neighbors. 

Another reason I was excited to make cookies was because I was able to use my new KitchenAid mixer!  My older one is starting to die, which is sad.  My parents gave it to me for a wedding shower gift, almost 10 years ago.


Emily’s Favorite Sugar Cookies
1 cup unsalted  butter, creamed
2 cups of white sugar
3 eggs
1 ½ teaspoons cream of tartar
5 cups of flour
2 tablespoons of milk
1 ½ teaspoon of baking soda
1 teaspoon of salt
1 teaspoon of vanilla

Preheat oven at 350 degrees.  Let butter sit out until it reaches room temperature.  Cream butter in mixer using paddle attachment.  Add sugar and continue to blend together until well combined.  Add eggs and combine together.  Sift 5 cups of flour together with the cream of tartar and salt.  Make sure that the flour, salt and cream of tartar are well combined.  Slowly add flour to egg, sugar and butter mixture.  In a small dish, combine the milk, baking soda and vanilla.  Mix together until baking soda dissolves.  Add to cookie dough until well incorporated throughout dough.

Remove dough from bowl and place on plastic wrap.  Form a disc shape and wrap.  Place dough in fridge for 30 minutes to chill. 

Remove dough from fridge and let it warm up for 10-15 minutes.  Cut disc into quarters.   Use however many quarters of dough you think you need.  I usually use one quarter of the dough and freeze the rest for another time.  I find that one quarter of the dough usually makes around 12-18 cookies, depending on cookie cutter shape and size. 

Place dough on a floured board and flour rolling pin, as well.  Roll out dough until about ¼ inch thick.  Using a floured cookie cutter cut out shapes and place them on a parchment lined baking sheet. 
Bake cookies at 350 degrees for 6 minutes.  The edges will turn a golden brown. 

Mixing the dough in my new KitchenAid Mixer.  I purchased the professional and it makes mixing so much easier. 

Mix together the milk, baking soda and vanilla extract.  Once combined and the baking soda dissolved, it then can be added to the cookie dough mixture.

I like to flour a wood cutting board and roll the dough out on that.  Make sure it is well floured, as well as the rolling pin.  I also like to dip my cookie cutter into a bit of flour as well.

Place cut outs on a baking sheet lined with parchment paper.  This will prevent sticking and also make clean up a breeze. 

All puffed up with golden edges.  Let the cookie cool completely before decorating.

I like to set up my decorating "station" while the cookies cool.  I clean up all from mixing and baking and give myself a clean counter area for decorating.  Here I have my homemade royal icing and some white ball sprinkles.


Outline the ghost with icing. 

Add icing inside the outline.  Smooth it with a knife or cake decorating spatula.
 Add sprinkles while frosting is still wet.


 These cookies are simple and make a great treat.  If you have to make a baked good for your child's classroom Halloween party, these cookies would be ideal.  I will be sure to share my royal icing recipe soon. 
Since holiday baking is almost here, now is a good time to check grocery store fliers for sales on different ingredients such as flour, sugar, baking soda, brown sugar and chocolate chips.  Keep your eye for sales and stock your pantry.  Fresh ingredients will ensure delicious cookies and whatever else you bake!